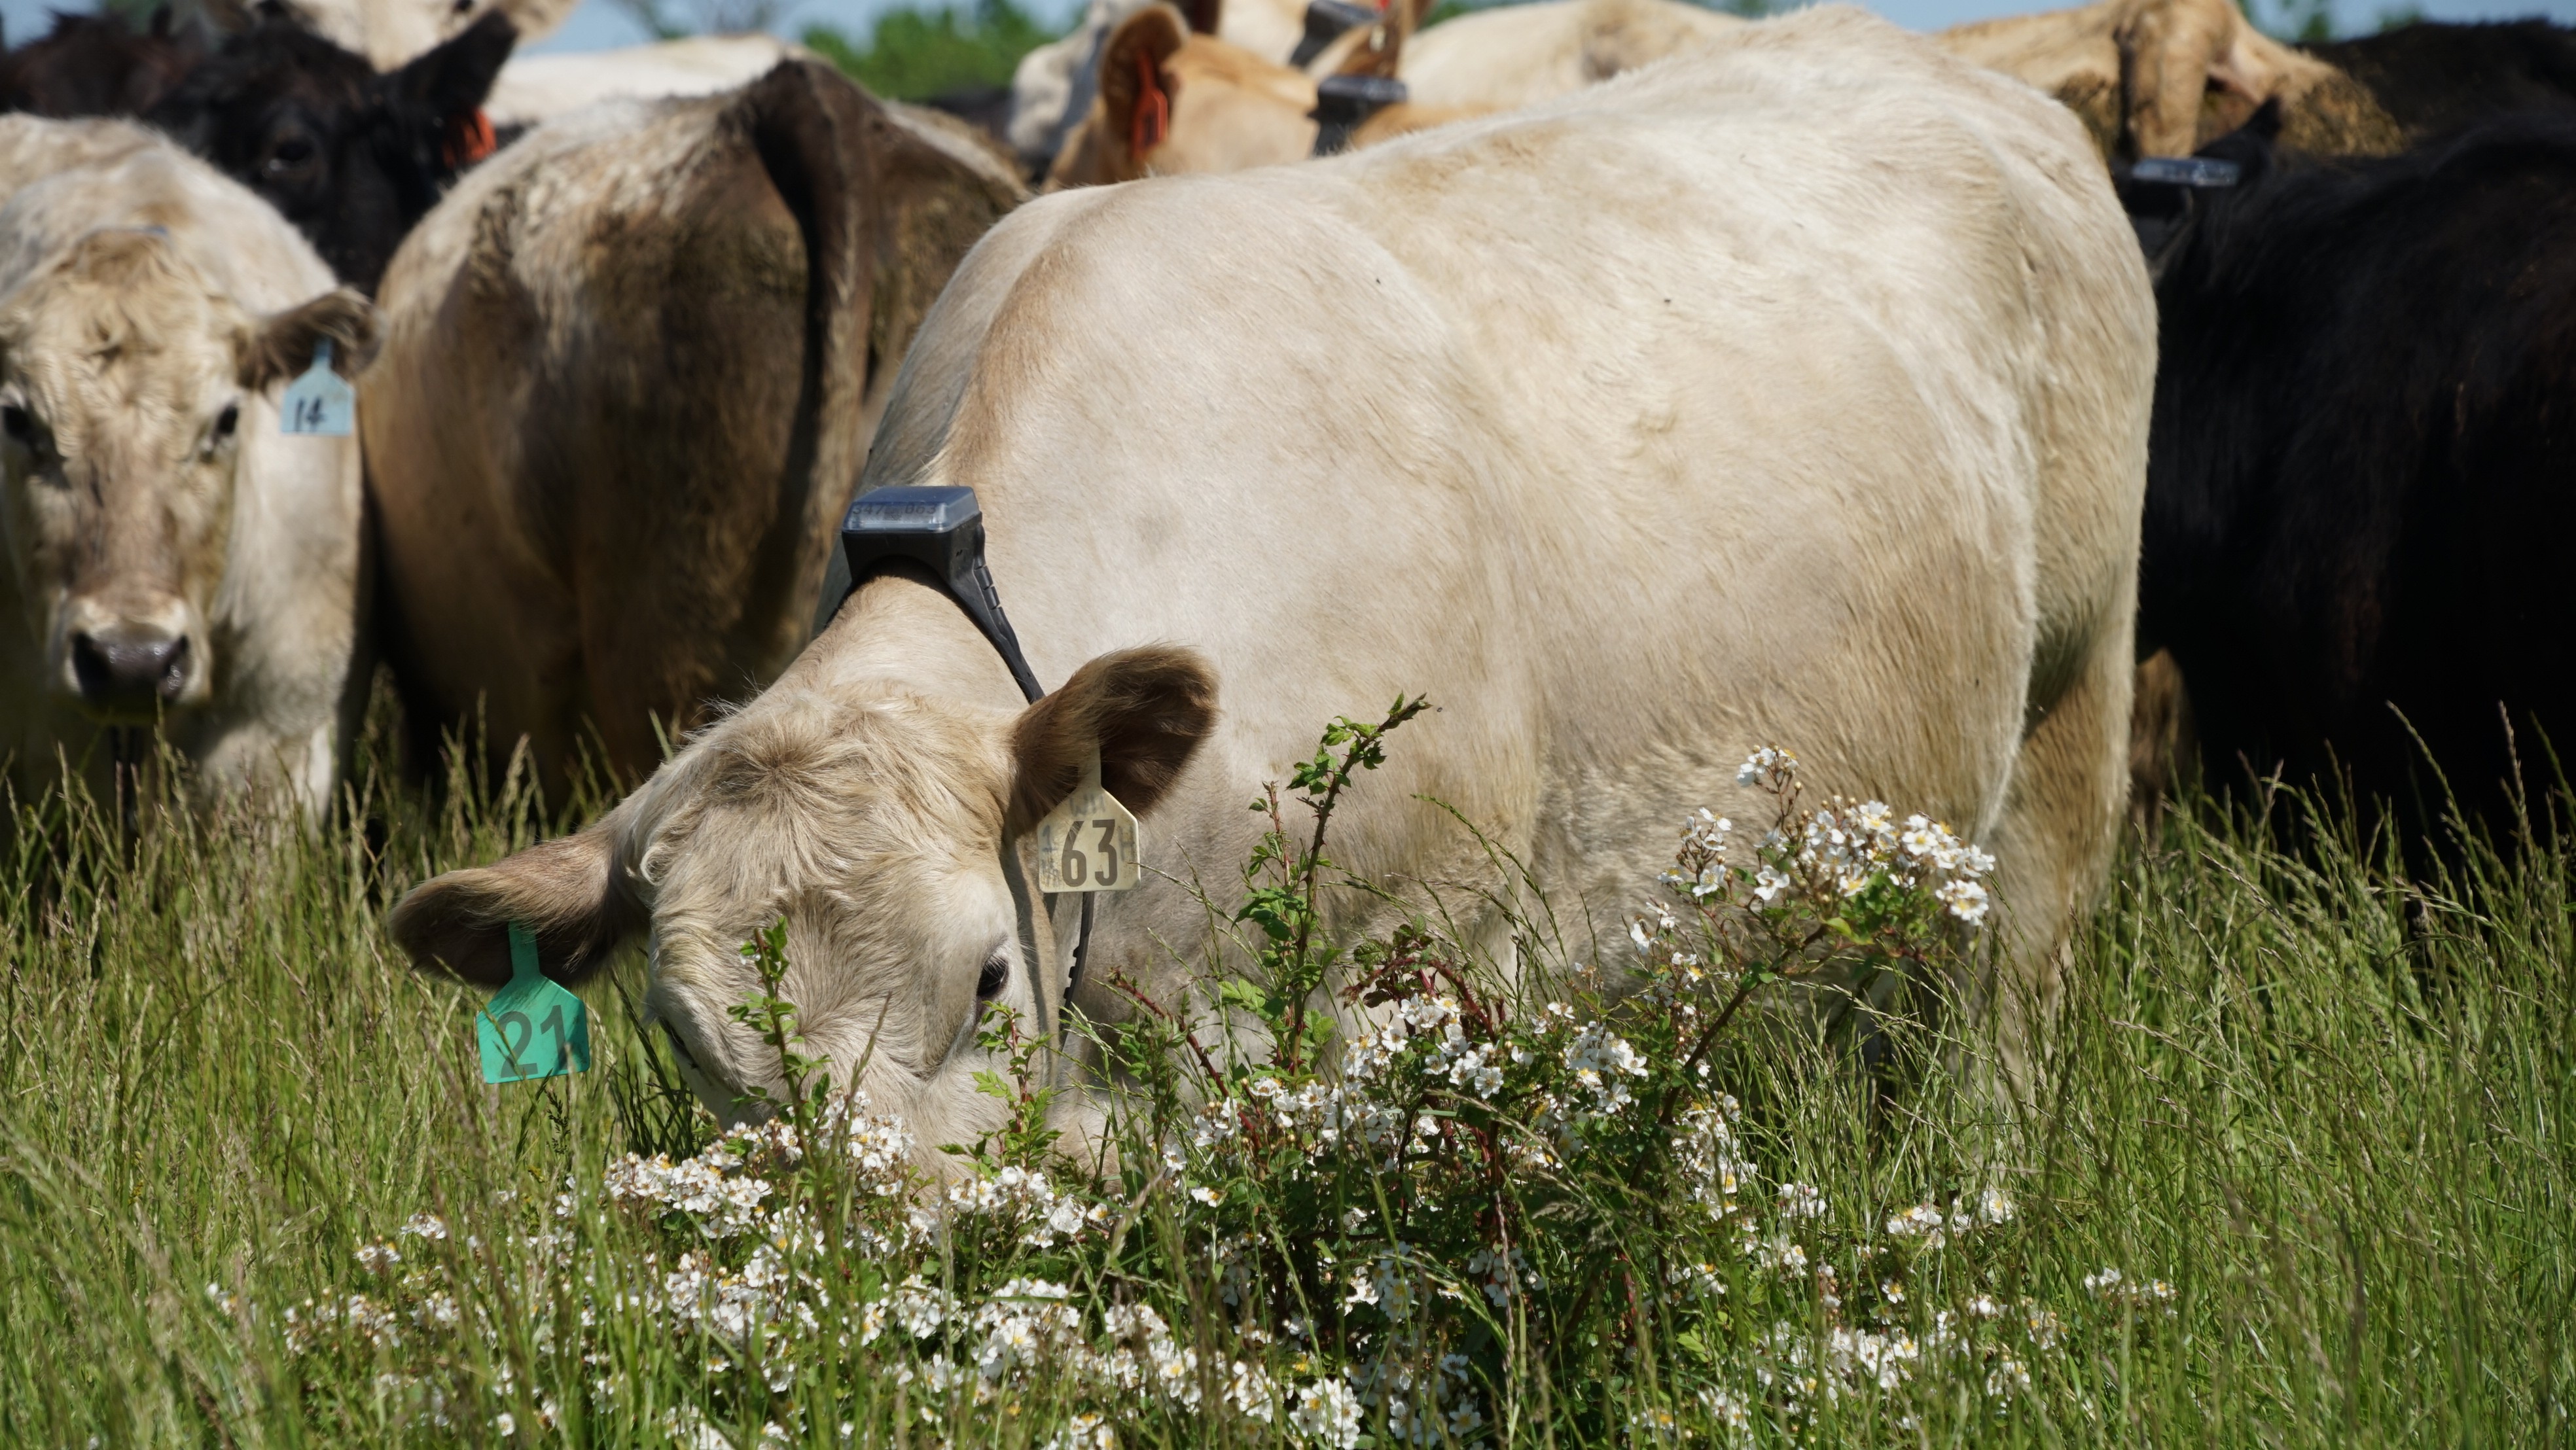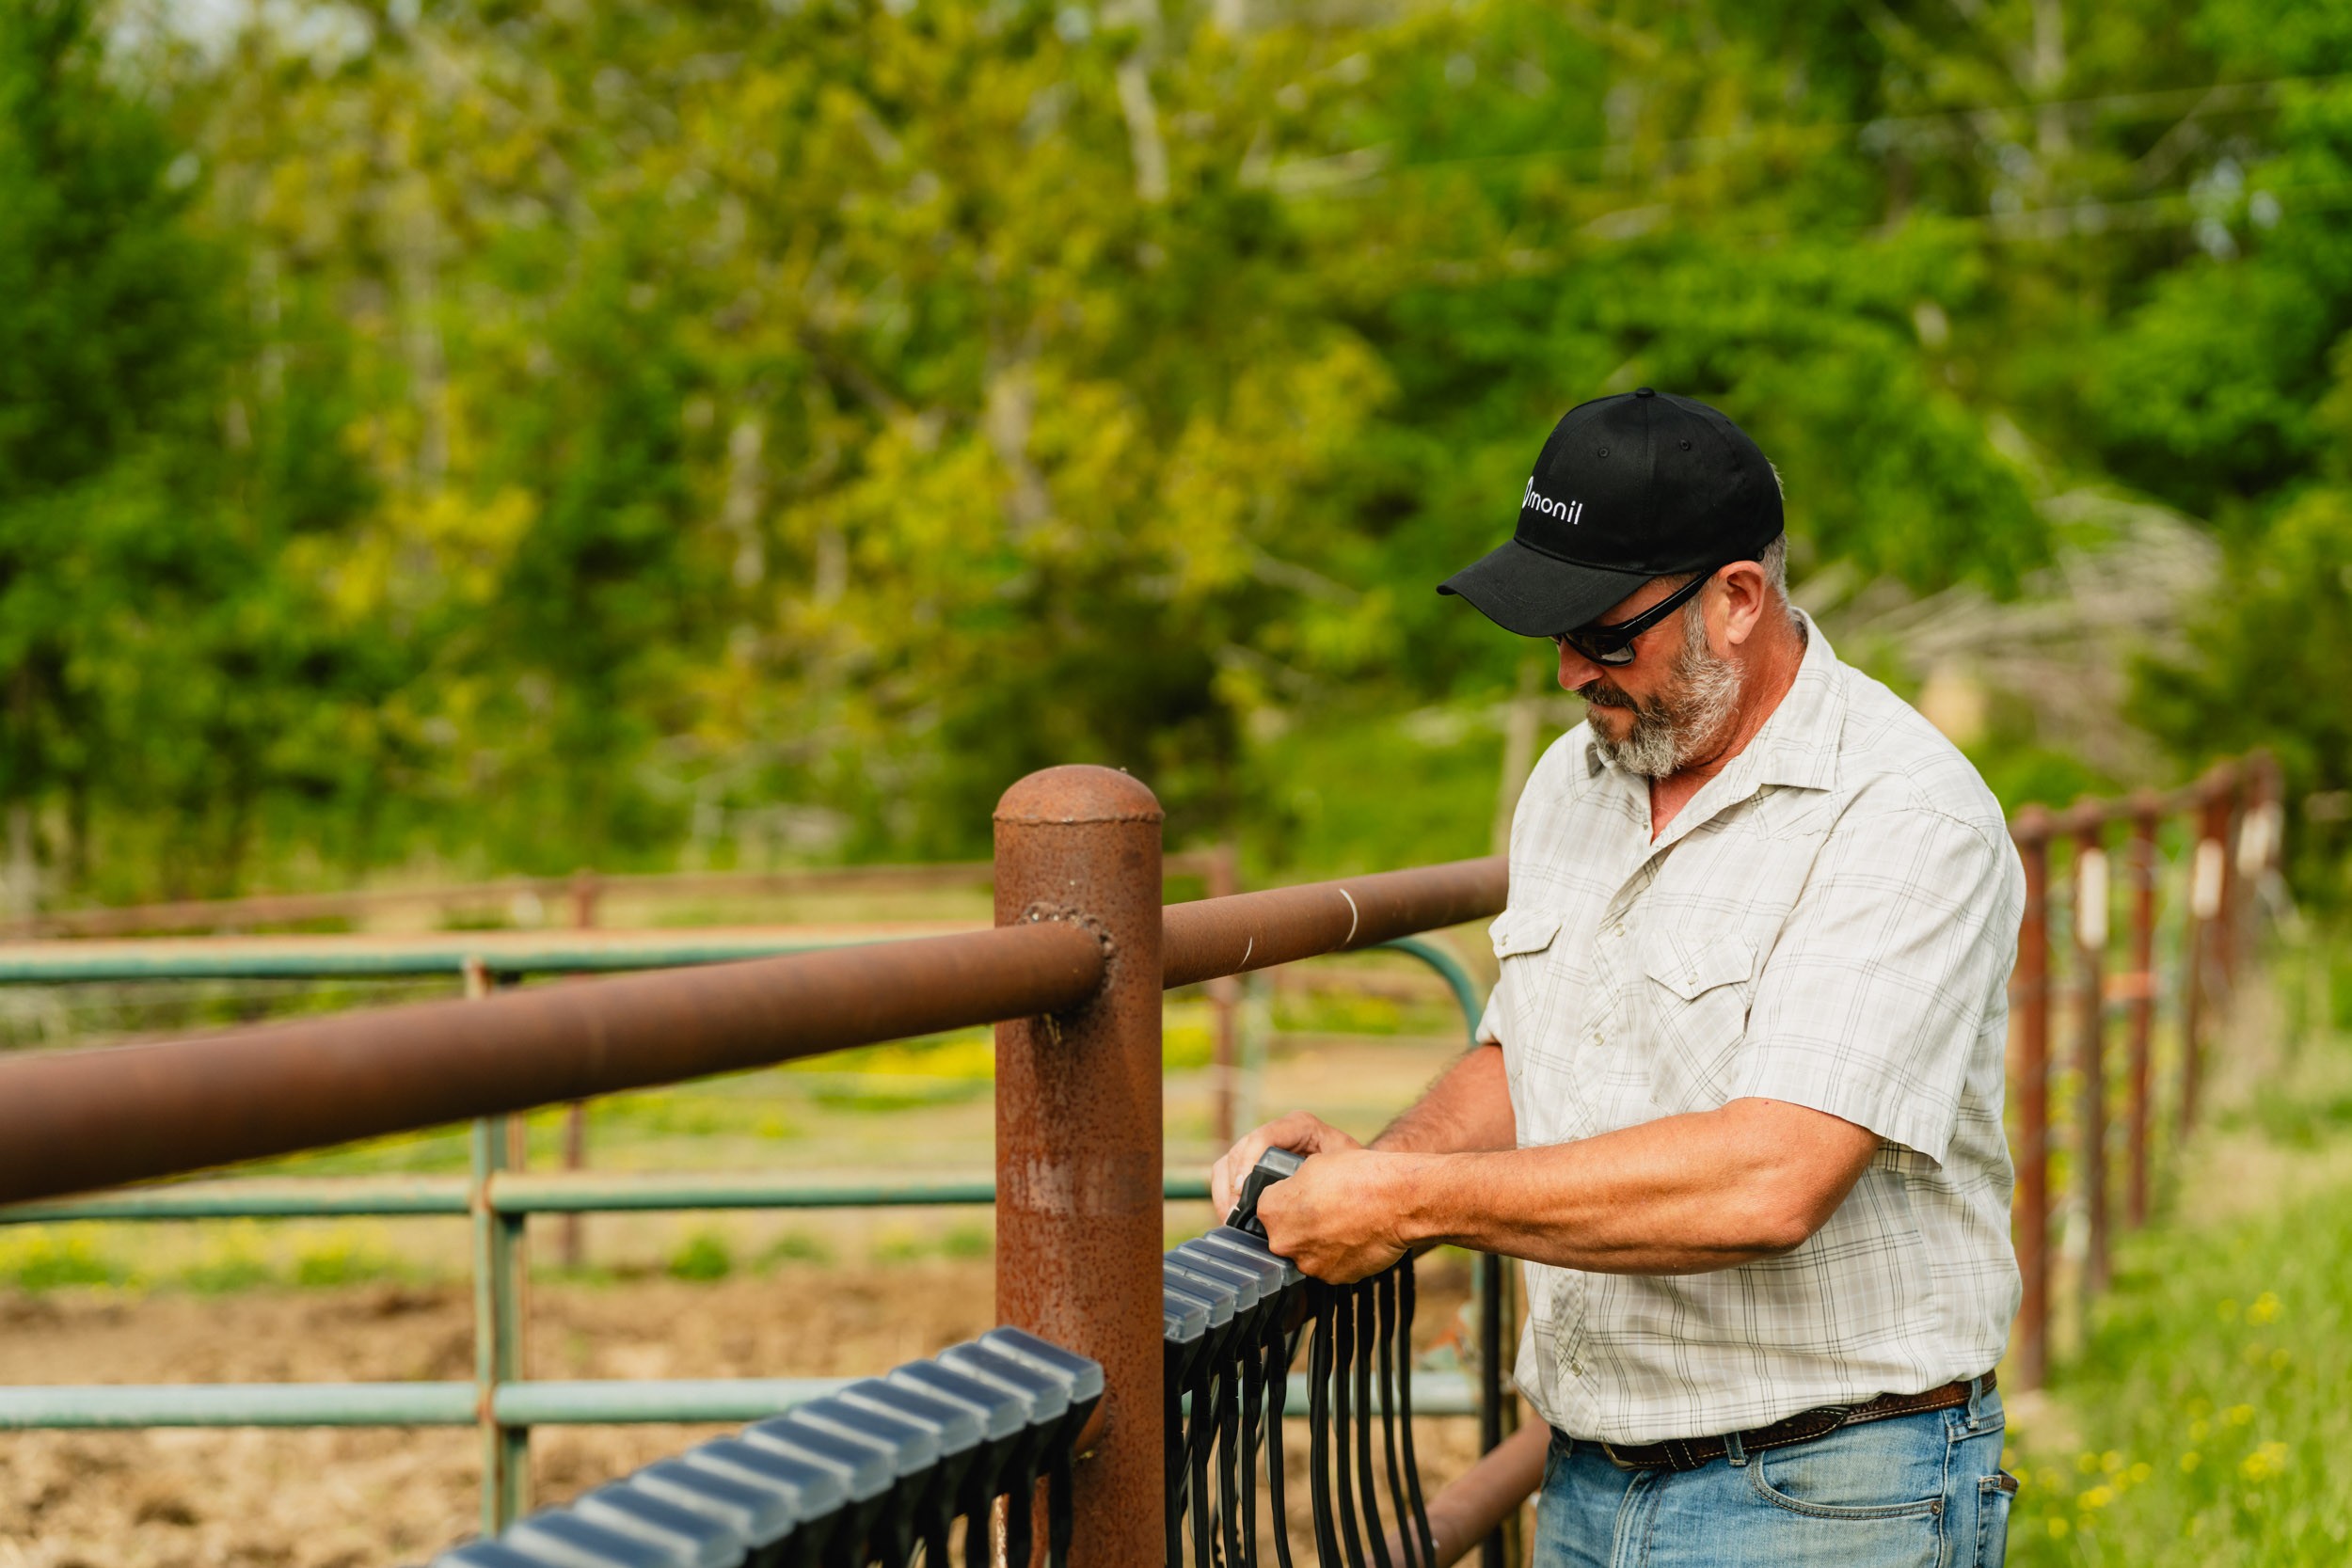
The Monil collars have arrived. You’ve unpacked the box and are ready to put the collars on your cattle for the first time. And given everything else you’ve got going on today, you’re probably wondering:
How long does it take to get started?
When we built Monil, we wanted the answer to that question to be simple. Our solution was designed so that producers can get up and running on their own, without needing technical support or hours of setup.
Here’s what the process looks like.
Getting started
- Download the Monil app
- Log in with same email used for your purchase
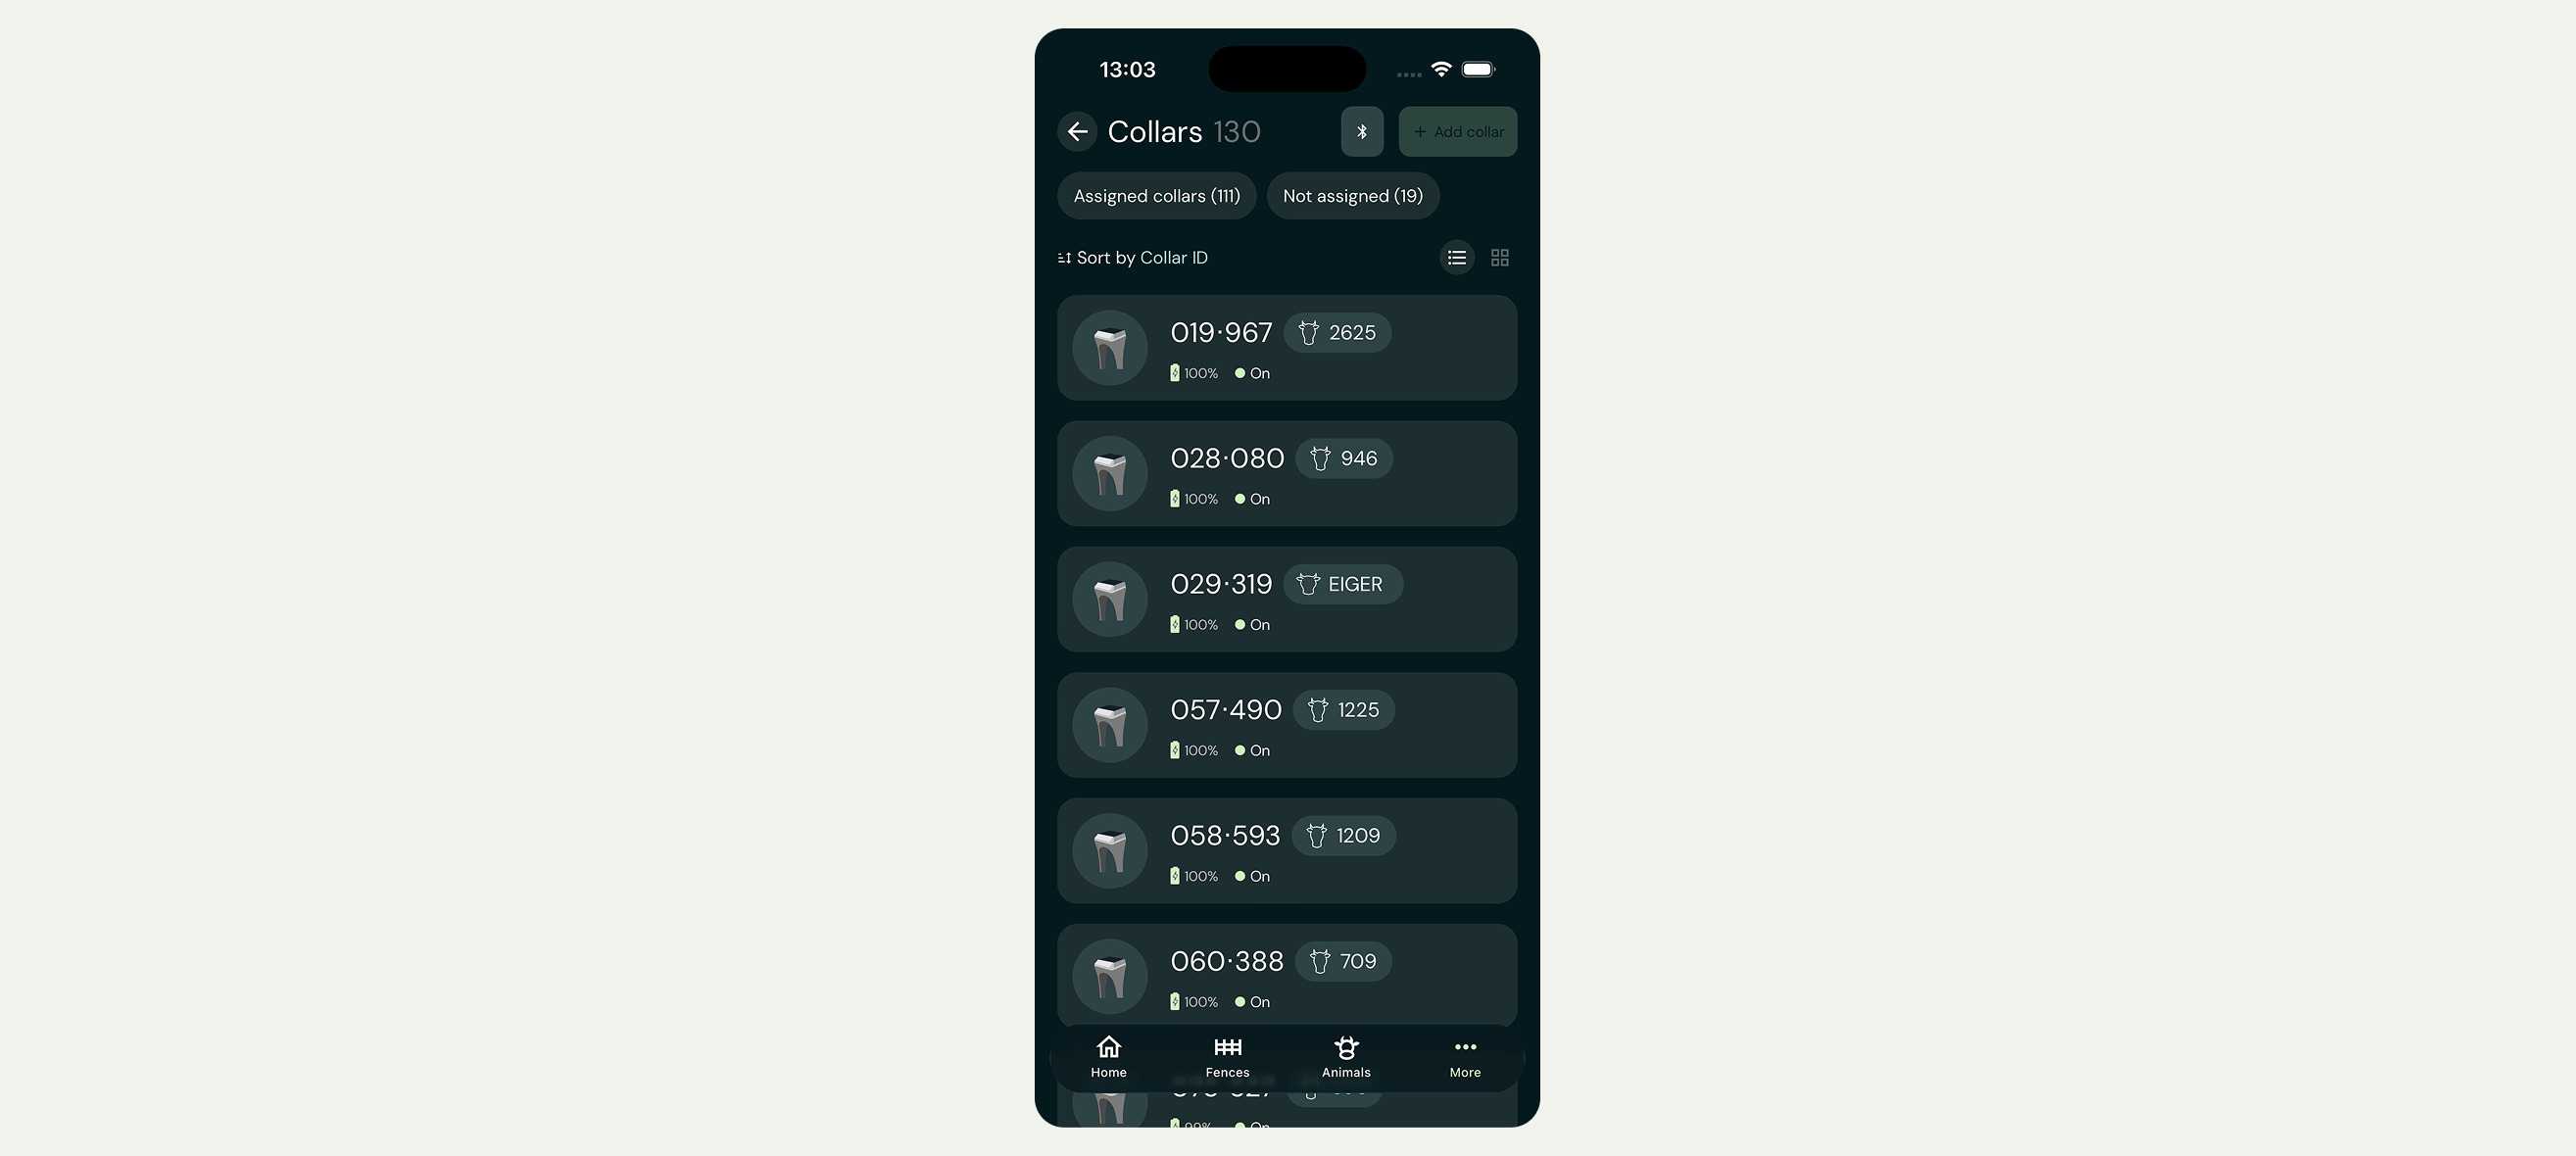
- Turn on your collars
- Assign collars to animals
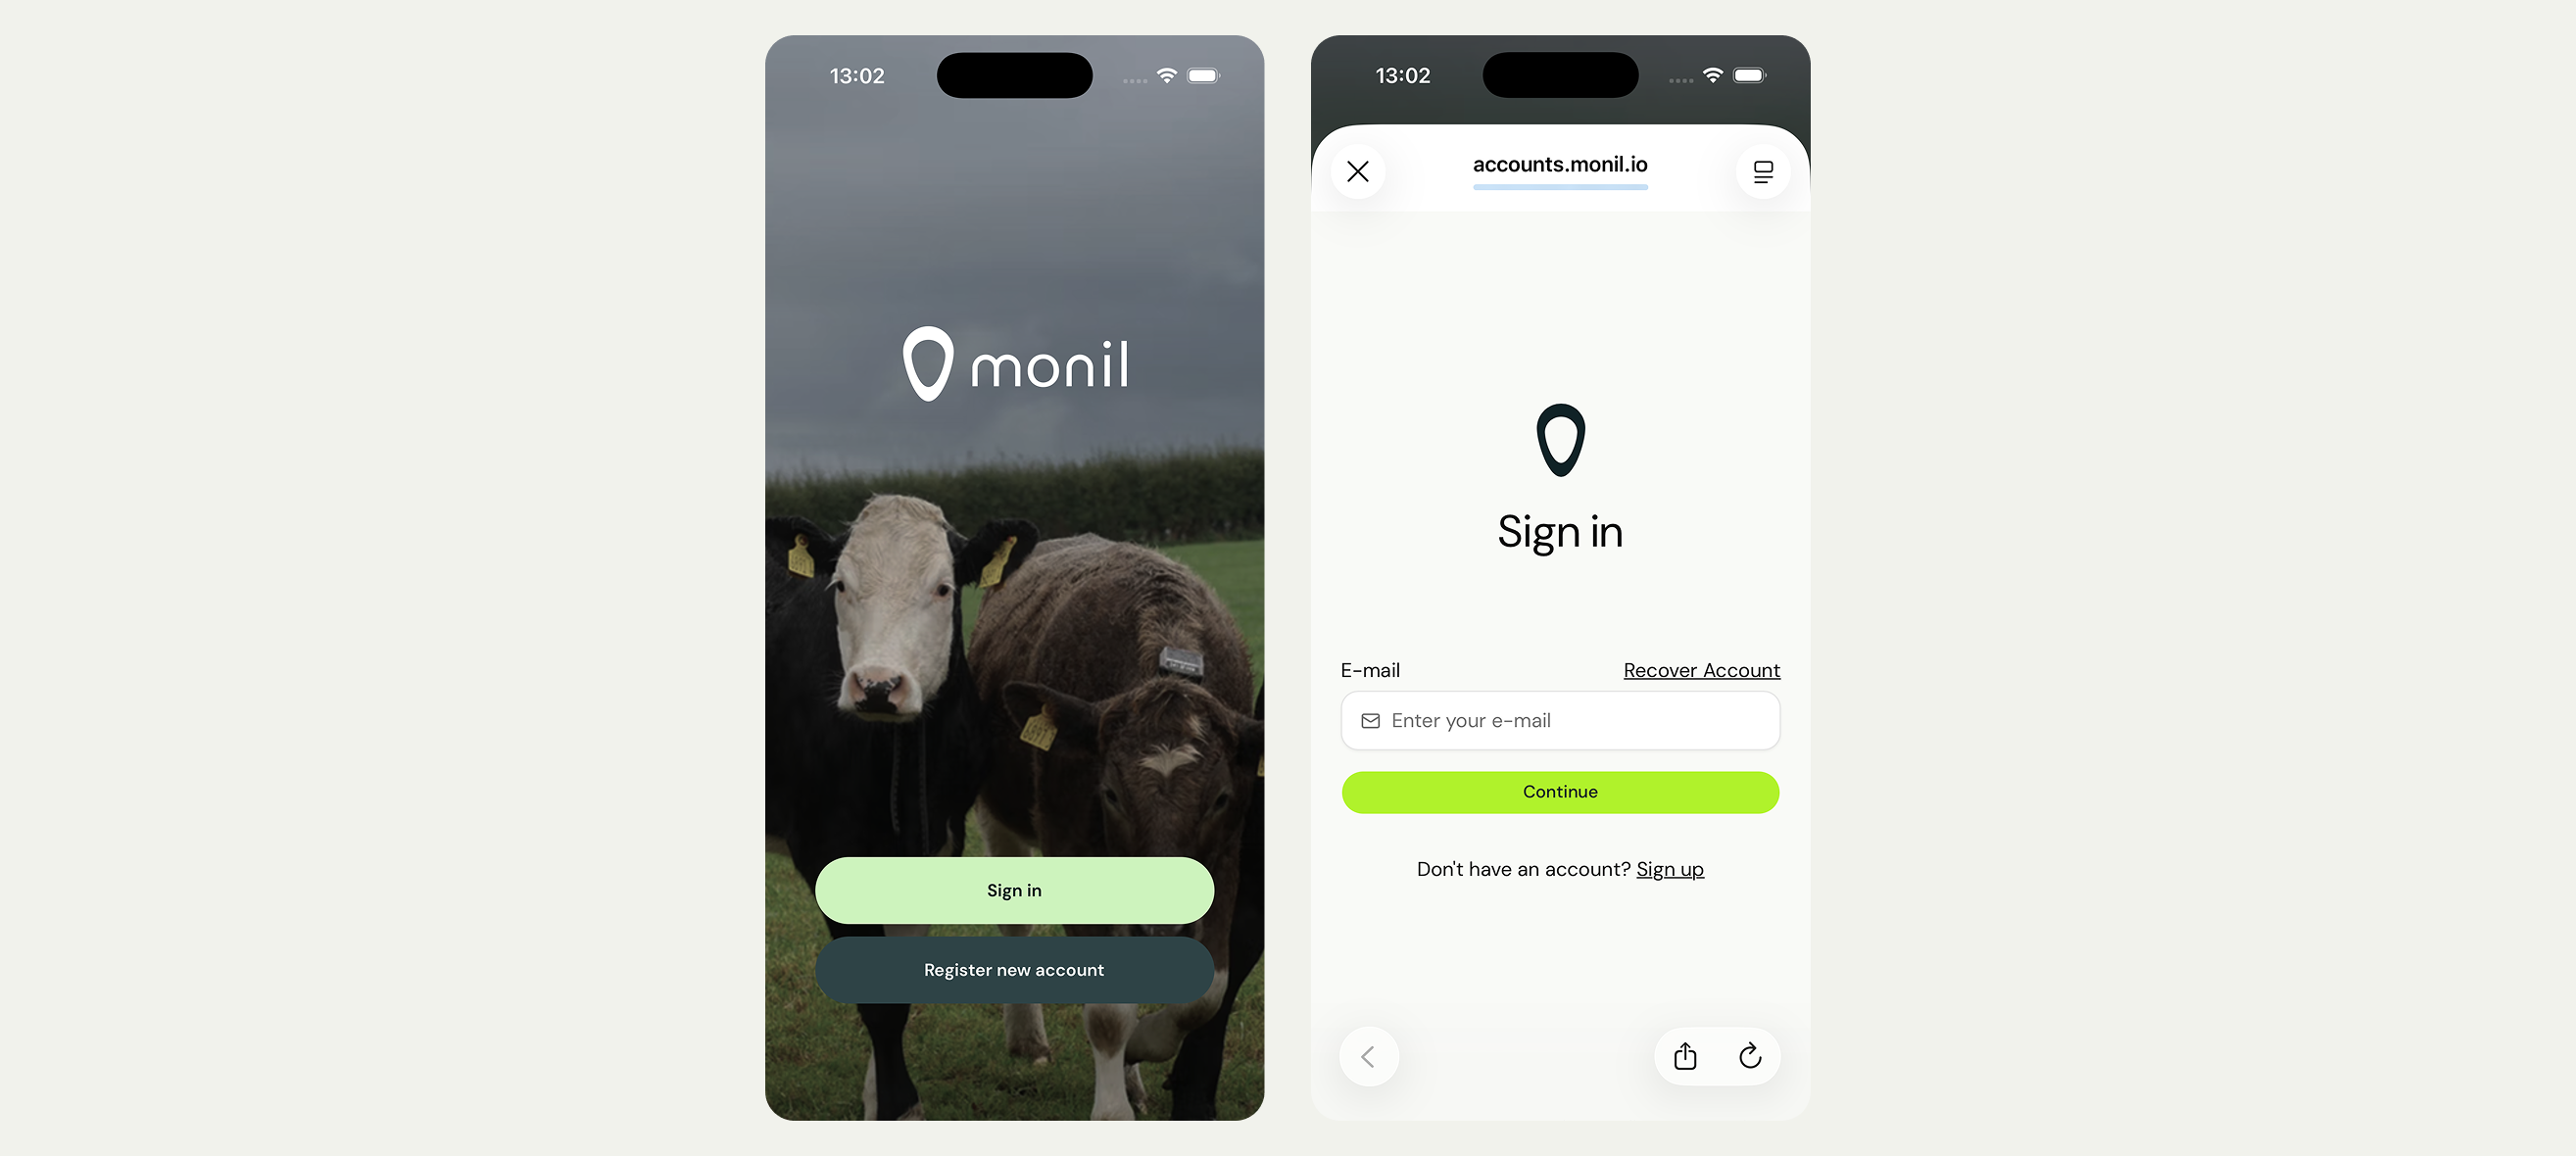
Download the app and log in
Step one is to download the Monil app from the Apple App Store or Google Play Store. You don’t need to own collars to download the app. Many producers install it before purchasing so they can get familiar with how it works.
When you purchase Monil collars, your account is connected to the email address used during the order process. As long as you use the same email when logging into the app, your collars will automatically appear in your account once they have shipped.
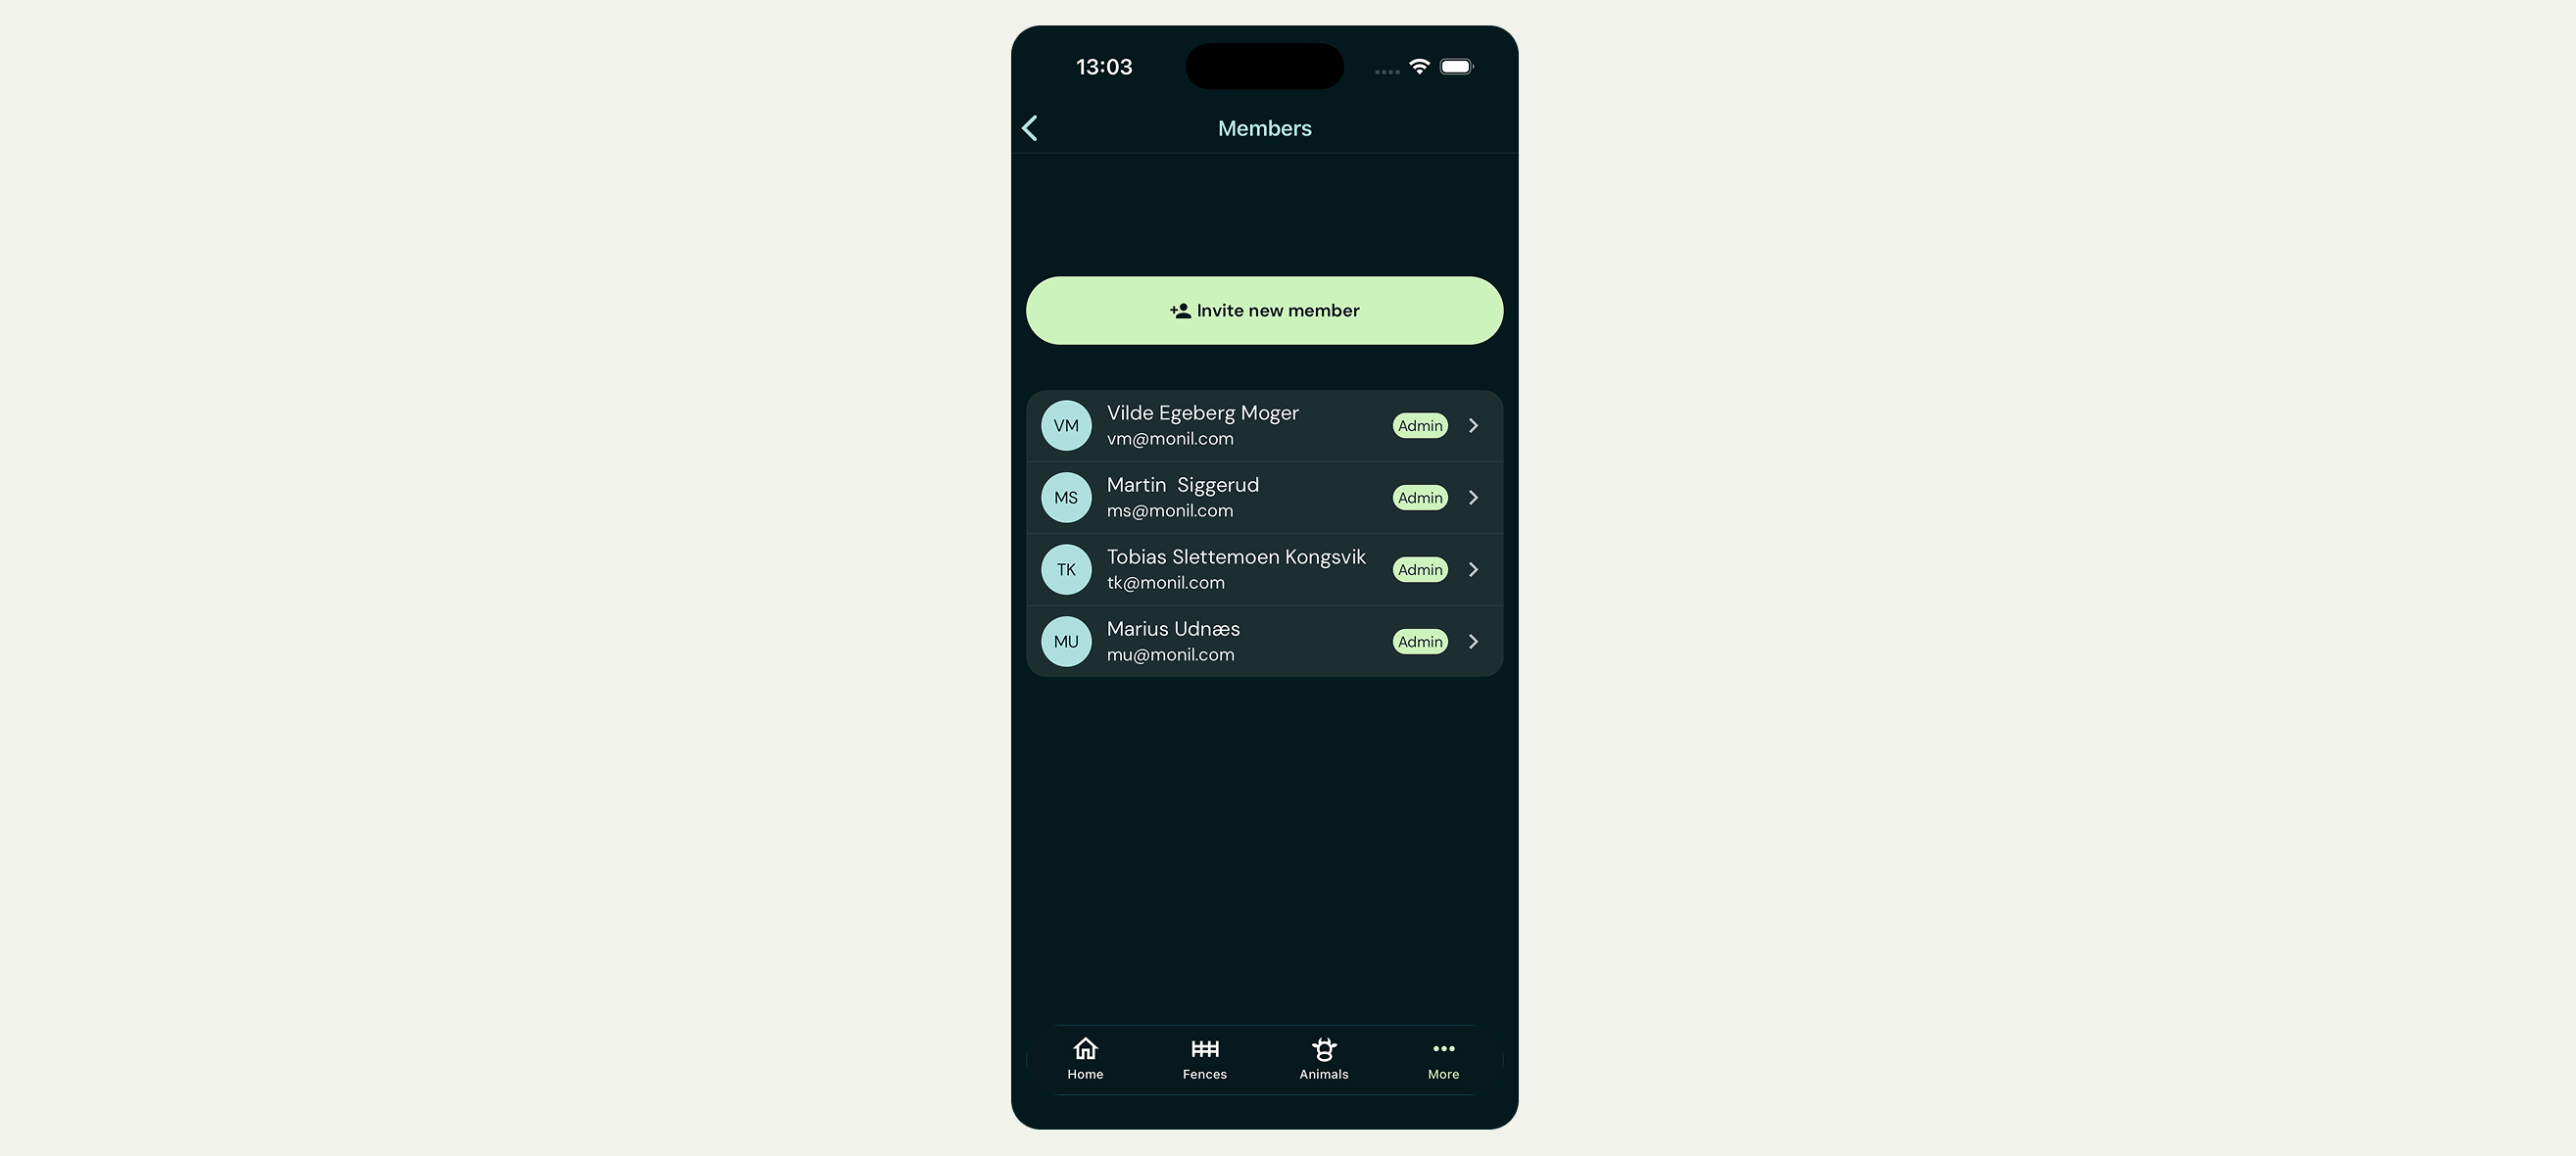
Invite other people on the farm
Most operations involve more than one person. The app allows you to add family members, employees, neighbors, you name it – anyone who helps you manage the herd. Different access levels can be assigned depending on what someone needs to do. Some users may only need to see where the cattle are, while others may need to move.
Turn on your collars
When your collars arrive, they will already have some juice in the battery. During spring and summer, most producers can just turn them on and put them straight to use. With plenty of sun available, the collars will keep on charging while they are on the animals. Each collar has a button that turns it on. When activated, it will appear in the app and report its battery level and status.
Many producers find it helpful to turn on all the collars at the same time and confirm that everything is working in the app before putting them on the cattle.
Assign collars to animals
Before a collar can be used, it needs to be linked to an animal. Most producers do this while fitting the collar. Simply enter the collar ID and the animal’s ear tag number in the app and assign them to one another. The animal will then appear on the map and can be added to a virtual fence.
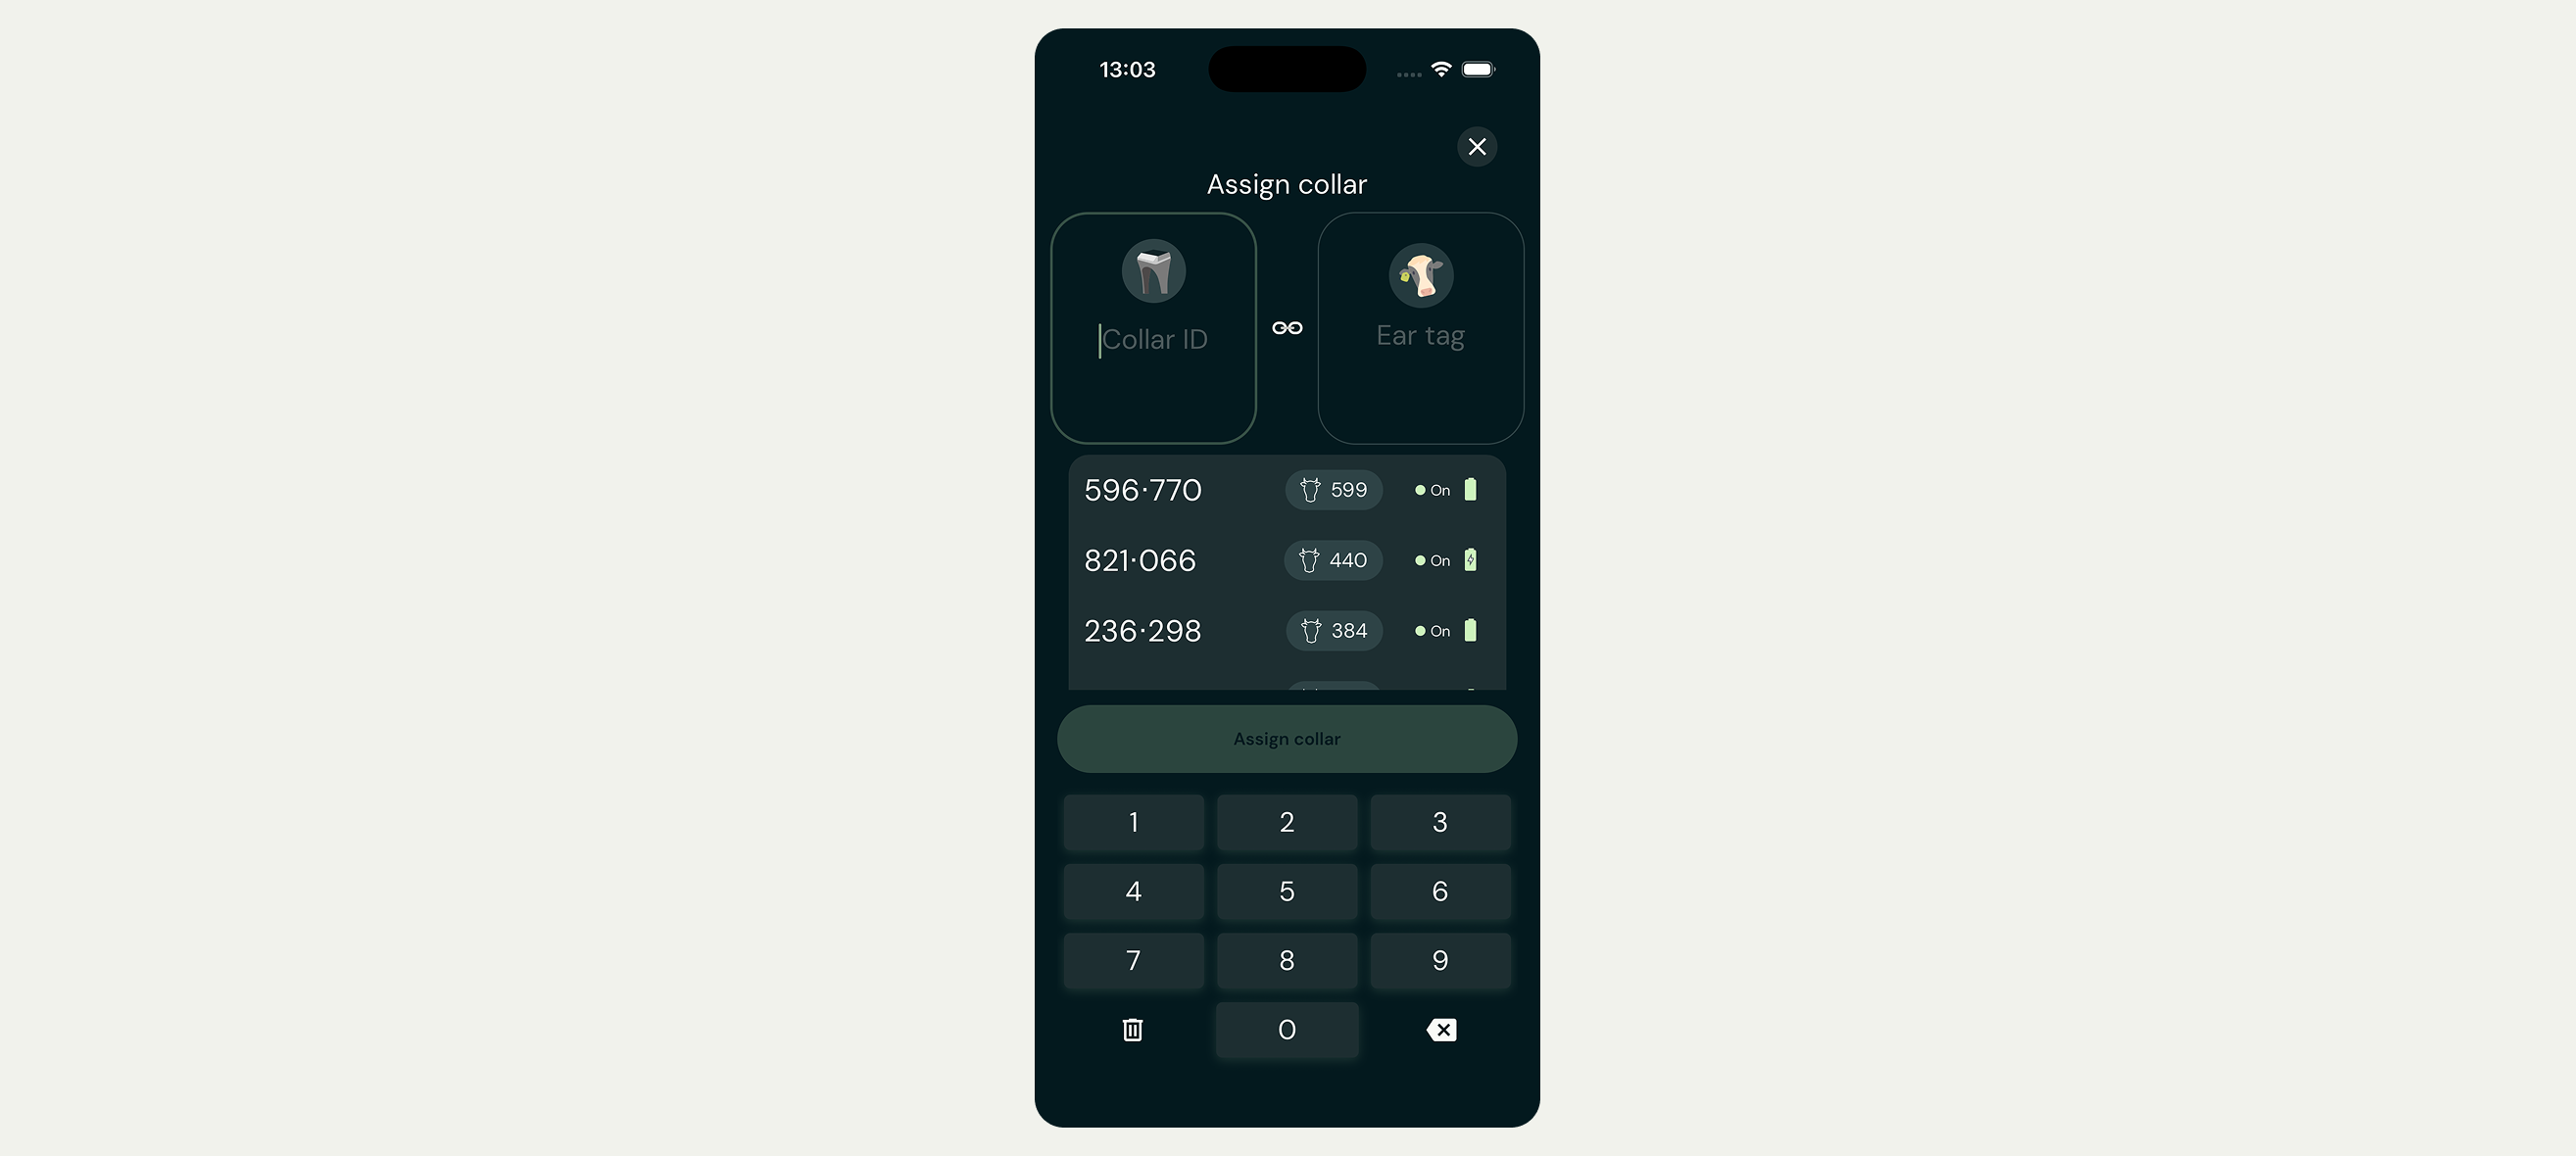
This step also creates the animal profile that is used for tracking locations, alerts, and activity information.
Read more in the farmer’s guide to Monil app
Create your first fence
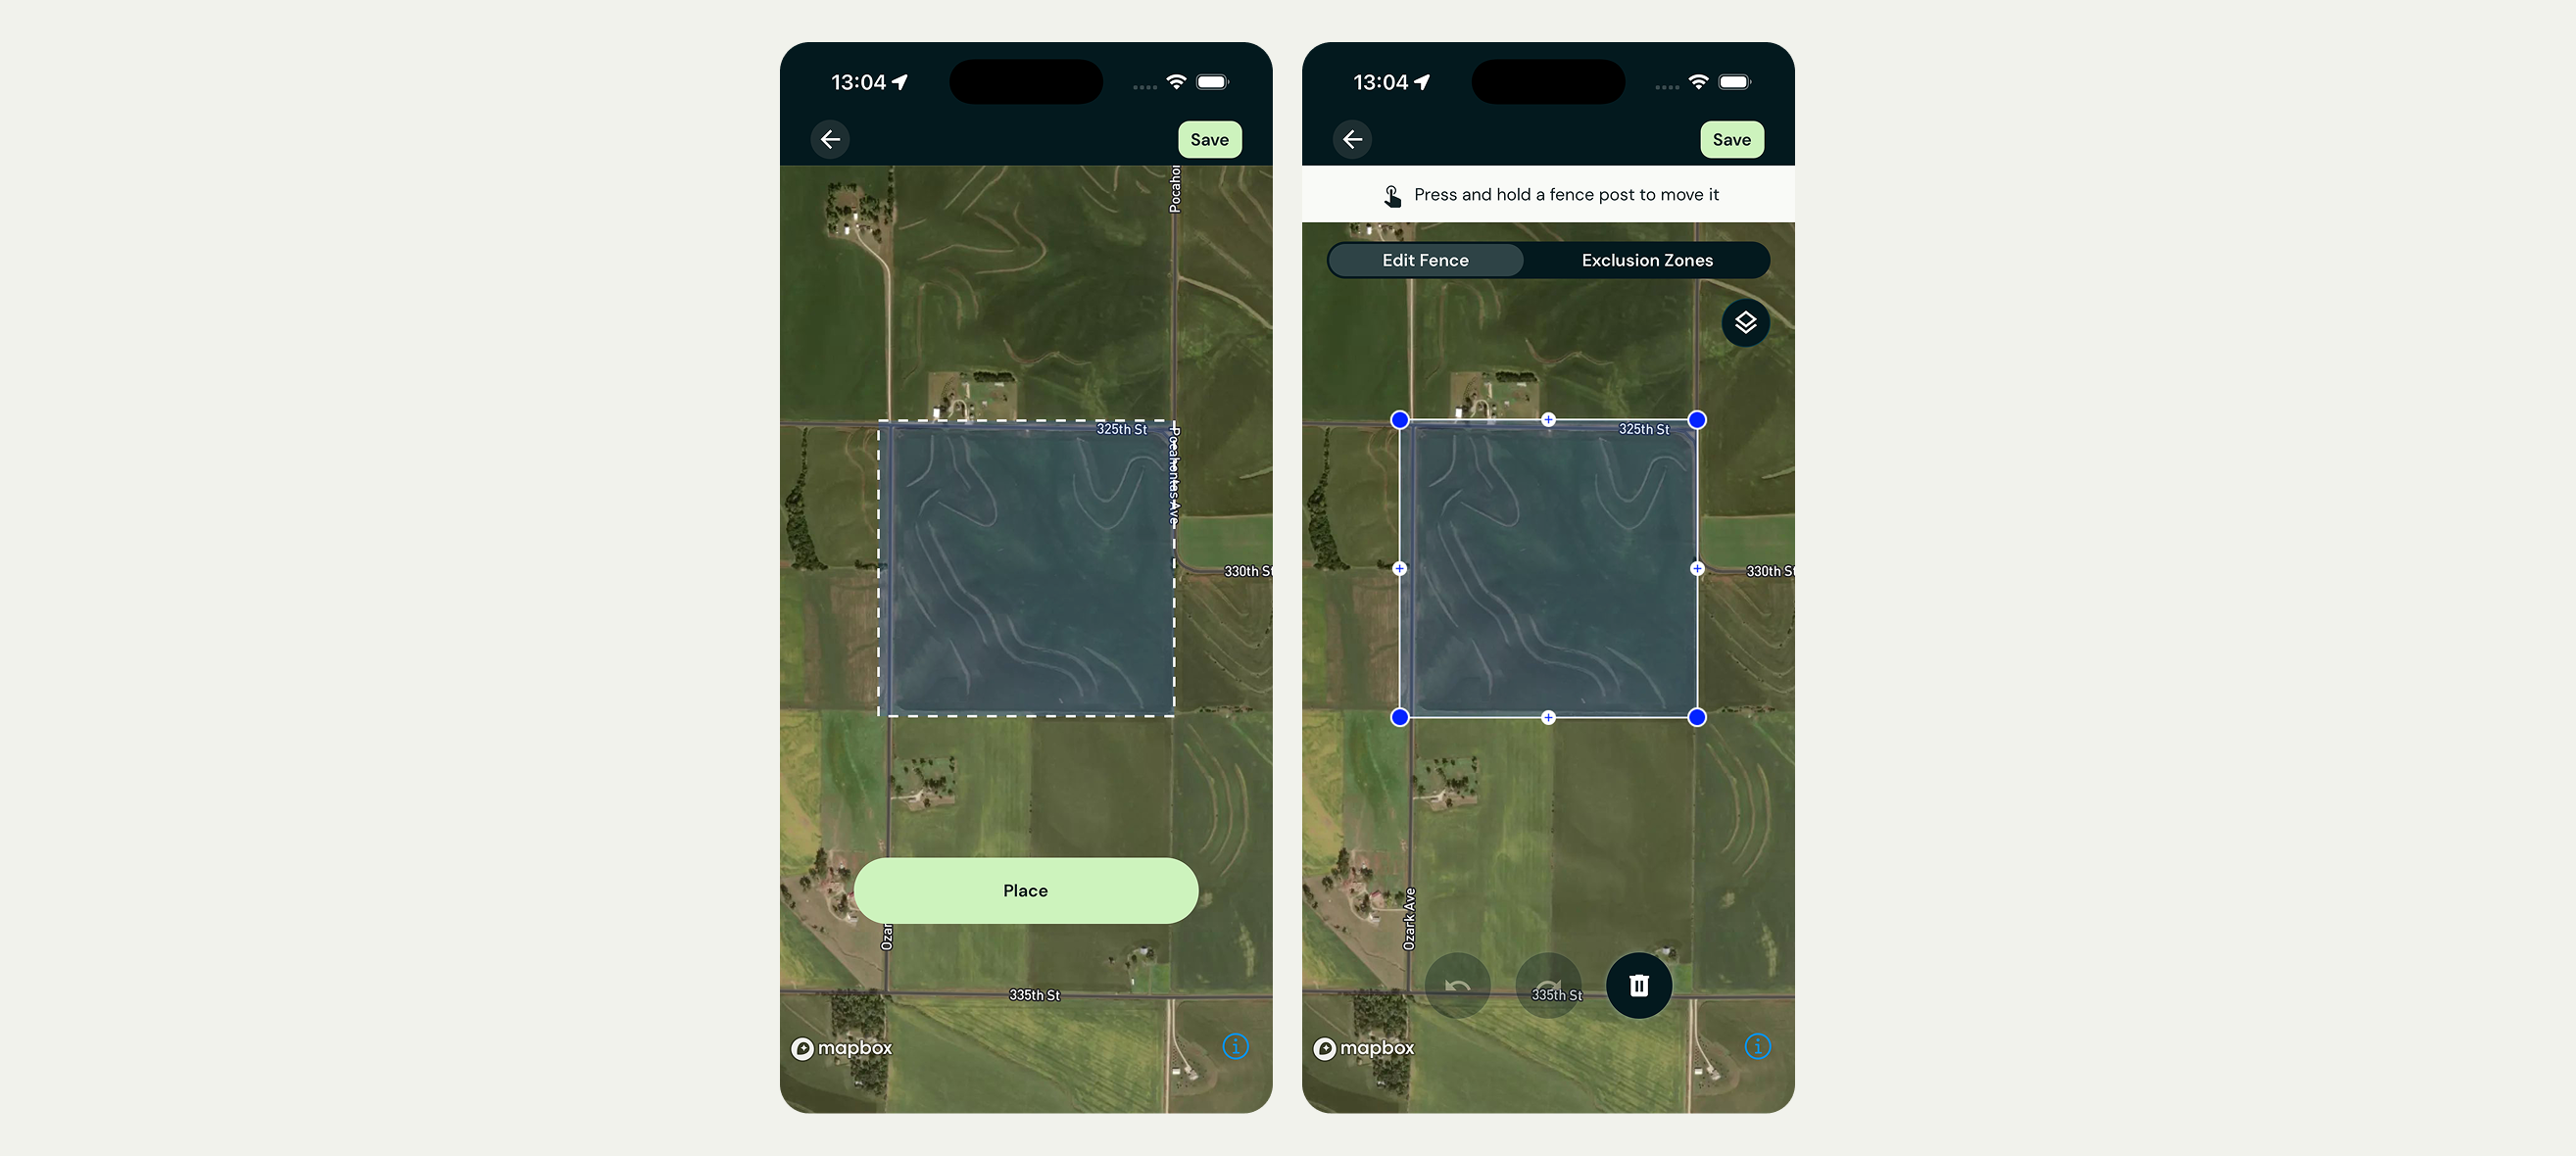
As soon as your animals are assigned, you’re ready to create a virtual fence. Drawing a fence is as simple as placing points on a map and adjusting them to match the area where you want the cattle to graze.
The fence can follow the shape of the pasture rather than a physical fence line. It can be adjusted later, copied for future use, or expanded as grazing conditions change.
Add animals to the fence
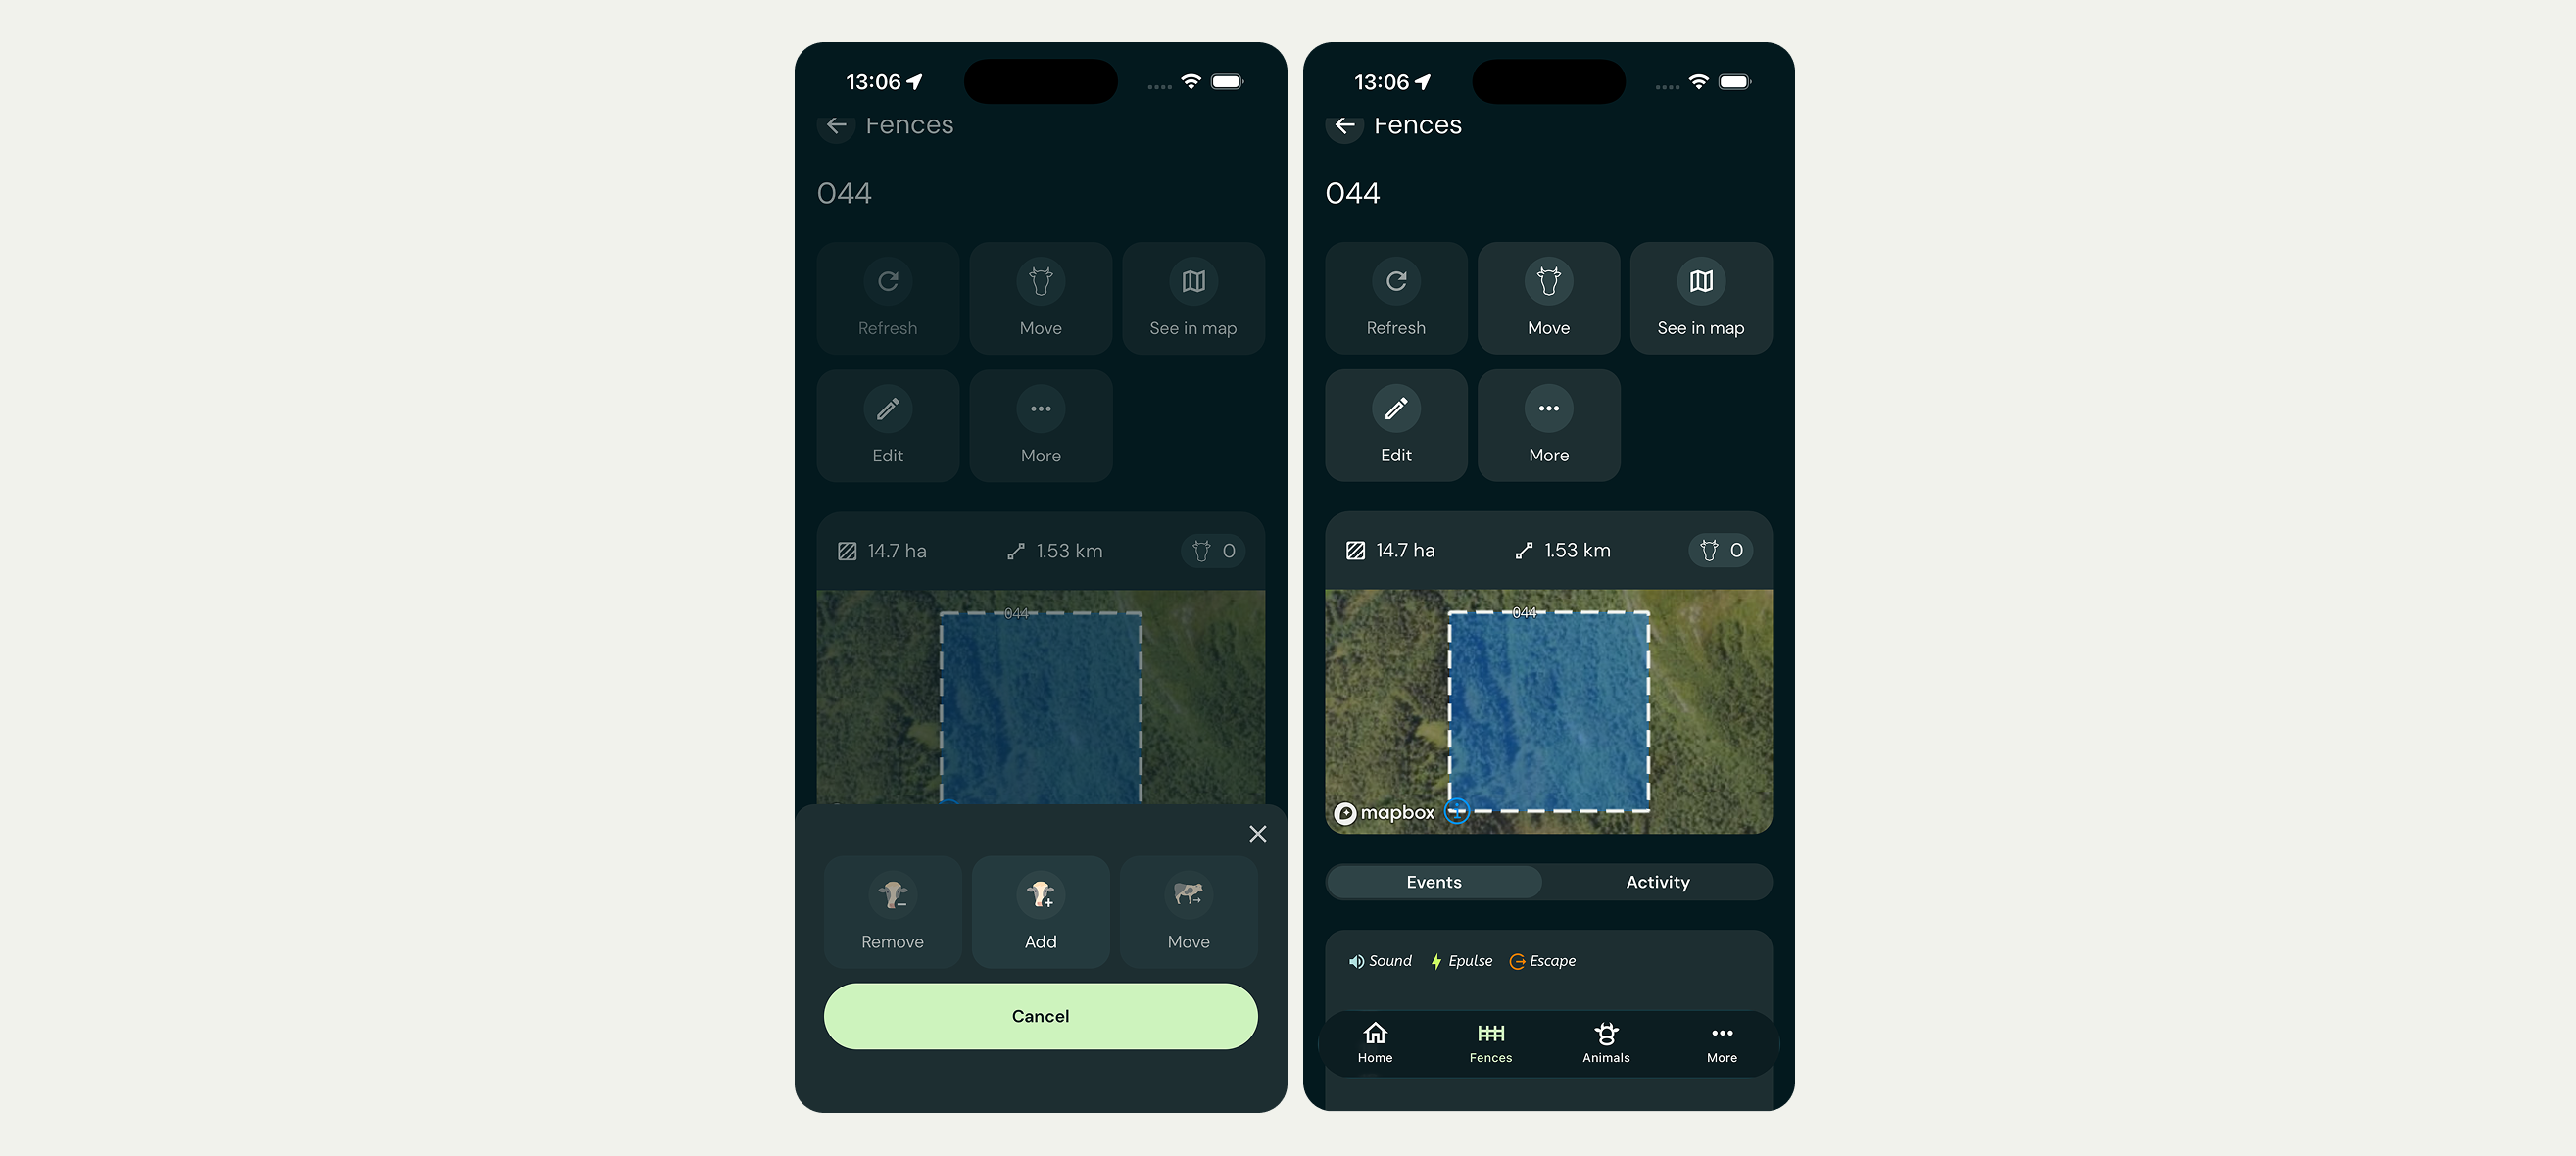
Creating a fence does not automatically mean that your animals are in that fence. After you draw it on the app, you need to select the animals that should belong to it and add them to the grazing area you created.
After completing that step, the collars receive the fence information, and the animals are ready to graze.
It’s worth mentioning that the cattle do not receive an electrical pulse when entering a virtual fence for the first time. They fence works like a one-way gate. The animals can move into the fenced area freely, but they are prevented from leaving it.
Ready for your first grazing season with Monil
The setup process goes quickly. The most hands-on part is fitting the collar and assigning it to the right animal in the app.
When that’s done, the rest starts to fall into place. You draw your first fence, add your animals, and start grazing. From that first fence onward, the Monil app becomes your everyday tool for moving cattle, managing your pastures, and keeping an eye on the herd.